


Using a strapping band (PET, PP, or steel) involves securing it around a load to keep it tightly bound during storage or transportation. Here’s a step-by-step guide:
Tools Needed:
- Strapping band (PET, PP, or steel)
- Tensioning tool (manual or pneumatic)
- Sealing tool (buckle, friction weld, or crimping tool)
- Edge protectors (for fragile loads)
Step-by-Step Process:
1. Choose the Right Strapping
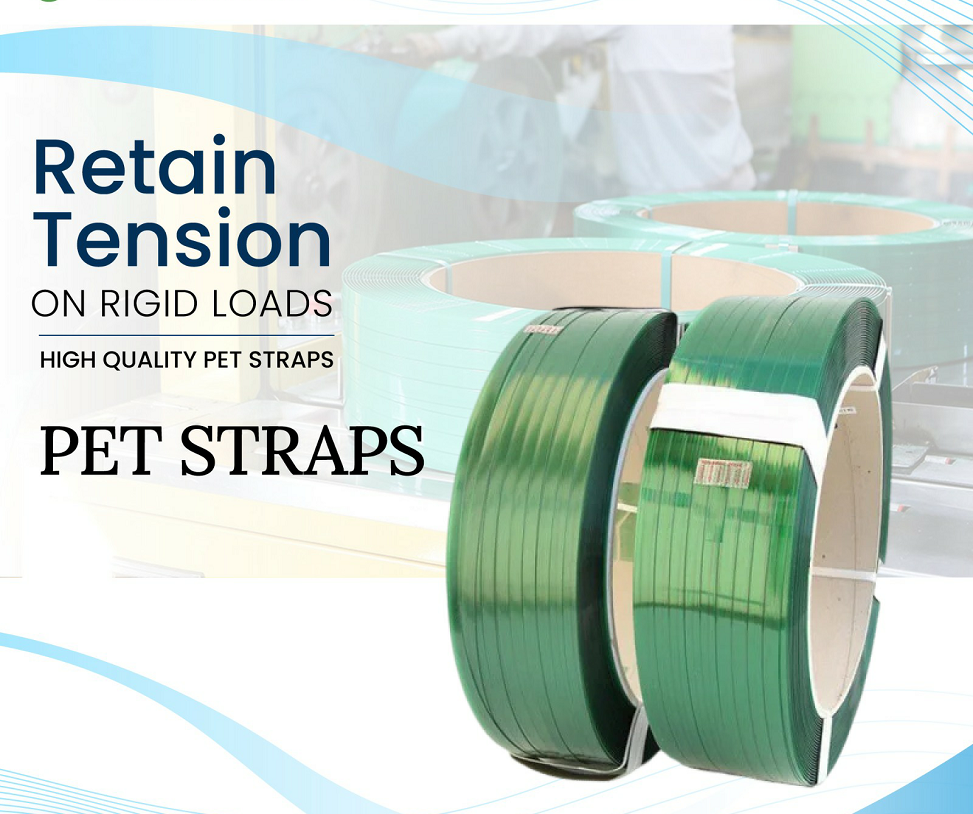
- PET Strapping – Best for heavy loads, high tension, and outdoor use.
- PP Strapping – Lighter loads, cost-effective, moderate tension.
- Steel Strapping – Extremely heavy loads, but prone to rust.
2. Measure & Cut the Band
- Wrap the strapping around the load to determine the length needed.
- Leave extra length for sealing (about 6–12 inches).
3. Position the Strapping
- Place the band around the load (horizontally, vertically, or in a cross pattern).
- Use edge protectors if the load has sharp edges to prevent cuts.
4. Tension the Band
- Insert the strapping end into the tensioning tool.
- Pull tightly to secure the load (avoid over-tensioning PET/PP to prevent breakage).
- For steel strapping, use a ratchet tensioner.
5. Seal the Strapping
- For PET/PP Strapping:
- Friction Welding: Use a heat sealer to melt and fuse the ends.
- Metal Seals: Place a seal over the overlapping ends and crimp with a tool.
- For Steel Strapping:
- Use a crimping tool to secure a metal seal.
6. Inspect & Test
- Ensure the band is tight and secure.
- Check for any weak spots or loose ends.
Tips for Effective Strapping:
✔ Use multiple bands for heavy or unstable loads.
✔ Avoid sharp bends—they weaken the strapping.
✔ Store strapping in a dry place to prevent damage (especially for PP).
✔ Automated machines are best for high-volume strapping in industries.
Products categories
-

High Tensile Strength PET Strap Roll PET Strap ...
-

Heavy-Duty PET Strapping Band with Low Elongati...
-

Wholesale PET Strapping Band – Custom Widths &#...
-

Recyclable PET Plastic Strapping Band – Heat-Re...
-

High tensile Strength PET Strapping Band PET St...
-

High Strength PET Plastic Strapping Band 19mm f...